Professional Moving Services You Can Trust
Long Distance Moving Made Easy. Get instant help from verified interstate movers.
Our Moving Services
Whether you're moving across town or across the country, we'll connect you with the right professionals.
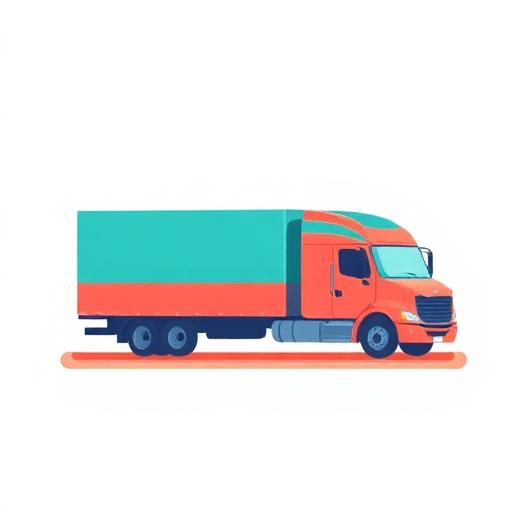
Long Distance Moving
Relocating across state lines? Get connected with trusted long-distance moving specialists.
- Interstate moving experts
- Full-service packing available
- Real-time tracking
Why Choose Our Network?
We connect you with the most reliable and professional movers in the industry.
Licensed & Insured
All movers in our network are fully licensed and insured for your peace of mind.
Fast Response
Get connected with available movers instantly. Same-day service often available.
Best Rates
Compare quotes and find competitive prices from trusted moving professionals.
Experienced Crews
Work with professional movers who have years of experience in the industry.
Full Equipment
Movers come equipped with all necessary tools, trucks, and packing materials.
Satisfaction Guaranteed
We only work with highly-rated moving companies committed to excellence.
How It Works
Getting professional moving help is just a phone call away.
Call Us
Dial our number and tell us about your moving needs and timeline.
We Match You
We instantly connect you with licensed movers in your area who are available.
Move with Confidence
Professional movers arrive on time and handle your belongings with care.